

This is an elaboration on the tutorial I made on how to make a boffer. I felt that the thrusting tip is the most important part when making a safe boffer and that it needs its own tutorial. These are 9 easy, cheap, and quick steps to make yours and others LARPing experiences safer. Happy LARPing!
Materials:
- closed-cell piping insulation (2 thicknesses)
- PVC pipe
- two-sided carpet tape (outdoor)
- a plastic bag
- duct tape
- a large safety pin
- scissors
- x-acto knife
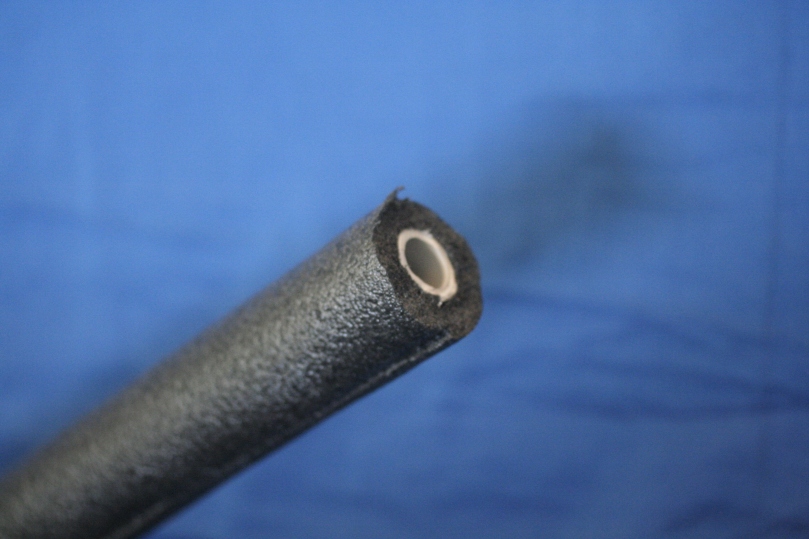
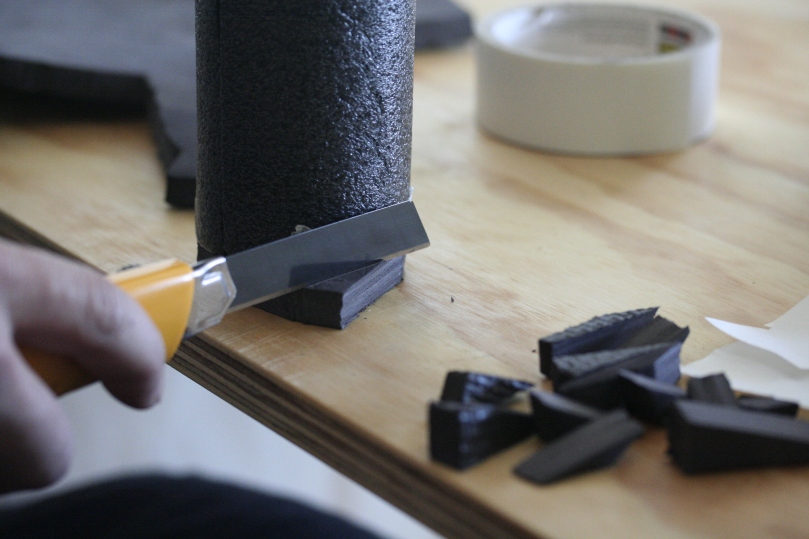
Step 1:
Attach your first layer of pipe insulation, using carpet tape, and cut the top flush with the pvc.
Step 2:
Add a square of carpet tape to the edge you just cut flush. Cap the end with a layer of closed-cell foam. Cut the edges so that it is flush with the sides of the piping insulation.
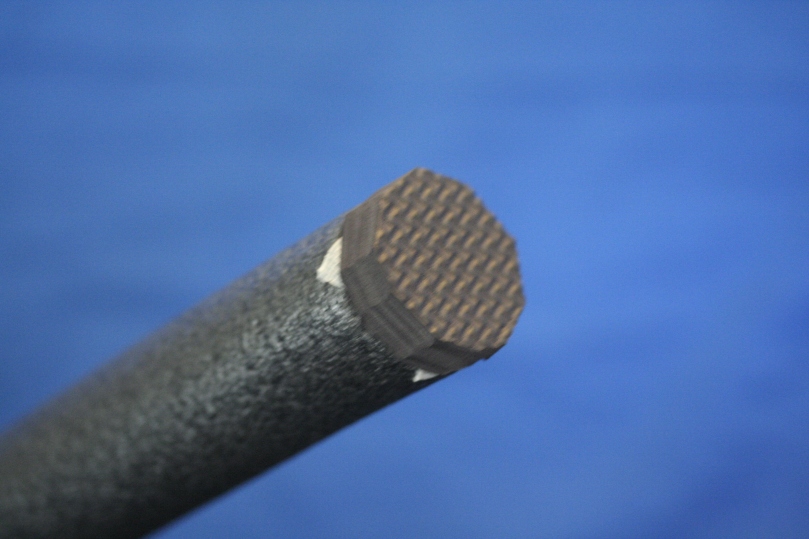
Step 3:
Repeat the process, adding a second layer of piping insulation, and cut it flush with the closed-cell foam.

Step 4:
Then, stick carpet tape to the tip, allowing for overflow. The carpet tape should overlap with the sides of the boffer. This overlap is important in later steps.
Step 5:
Add another layer of closed-cell foam to the tip and, with an x-acto knife, trim it flush with the edges.
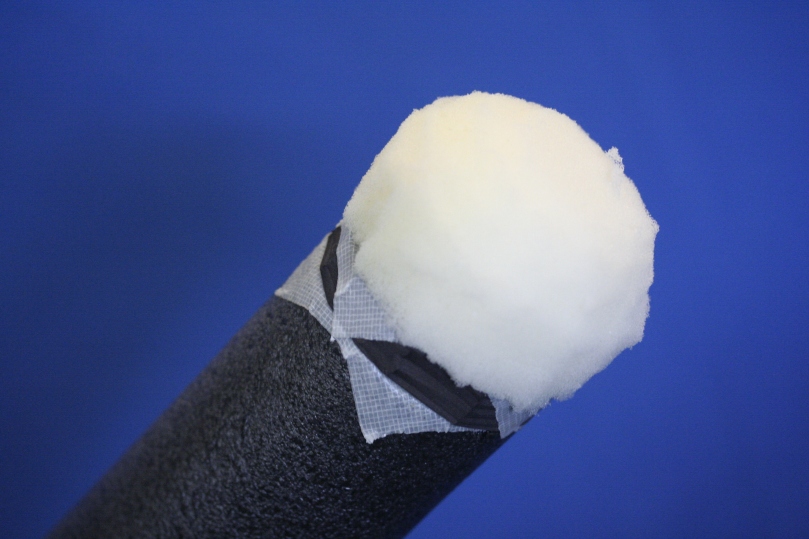
Step 6:
Cut a 2-inch square of open-cell foam and shave the edges with scissors to create a dome shape. Then, apply it to the tip of the boffer with carpet tape.
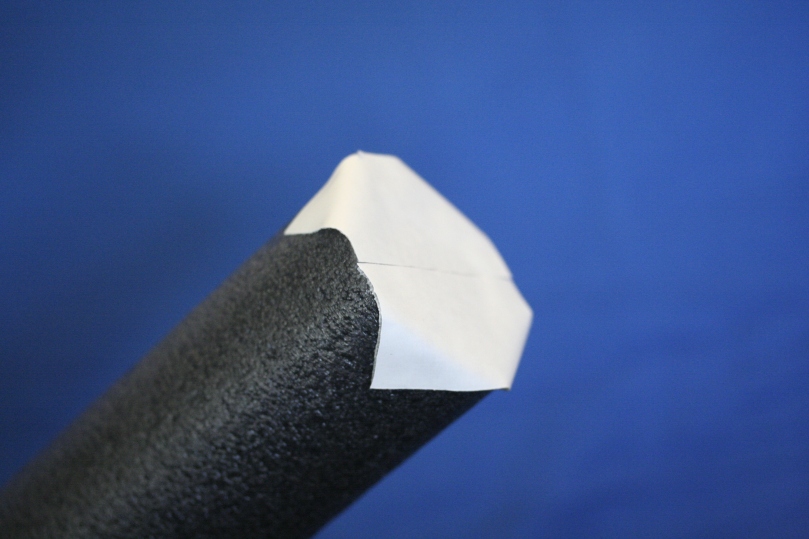
Step 7:
Cut out a side of a plastic bag. Lay the bag on the tip, sticking it down with the overflow of carpet tape you did earlier. Then, trim the edges of the bag so that there is no excess past where the bag is stuck down.

Step 8:
Take a strip of duct tape and cut it in half, lengthwise. Attach it roughly half an inch from the centre of the tip and run it down to just past the edge of the plastic bag. Repeat this process all the way around the tip.
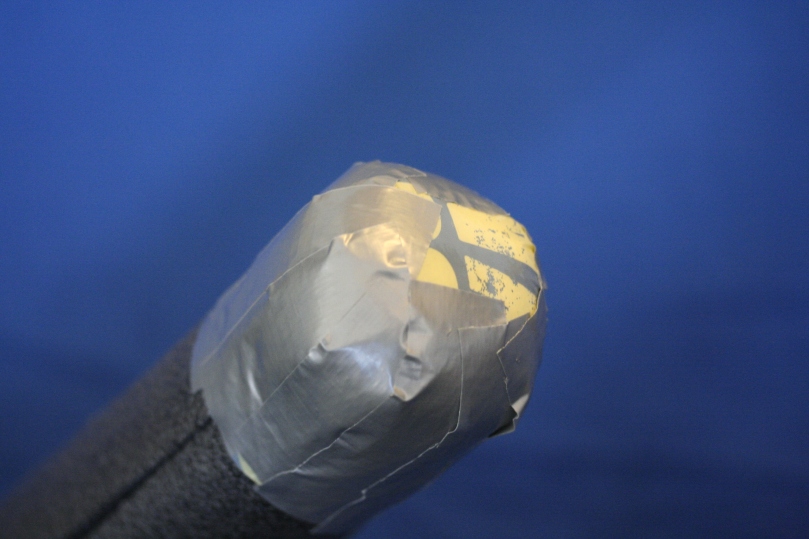
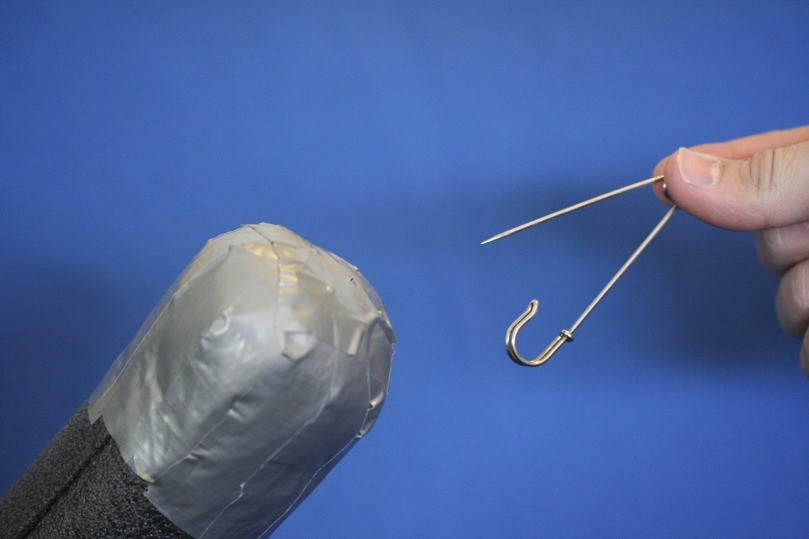
Step 9:
Cap it with a square of duct tape on the top. Poke holes with a large safety pin. Do this all over the top and sides of the thrusting tip. The more holes, the easier it is for the tip to compress and decompress.
Congratulations, you have just made a safe thrusting tip!
Let me know what you thought of this tutorial in the comments below.
Remember to follow me on Twitter and Facebook to get notifications about new tutorials that I make.
You can also follow me on Instagram now @TheLARPLife.
Until next time,
~Mel
